
Do you use the Snipping Tool to take a screenshot on Windows 11 or Windows 10? The Snipping Tool is a handy utility that comes pre-installed on Windows 10 and Windows 11. When you use the Snipping Tool, you can take a screenshot of anything that appears on your screen.
Open the Snipping Tool
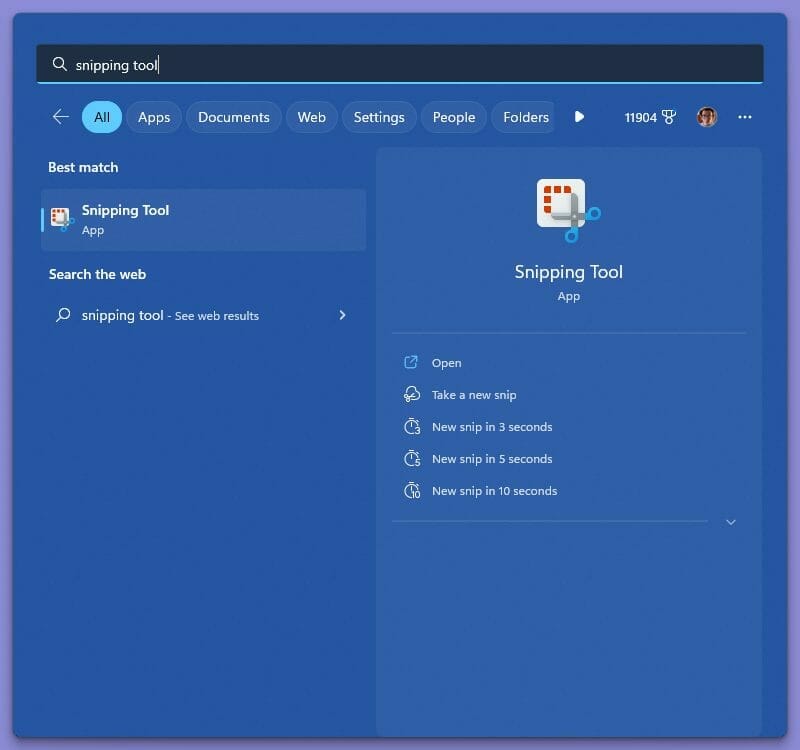
In order to use the Snipping Tool, you will need to open it first. There are two ways to open the Snipping Tool:
- Click on the Start button and type “Snipping Tool” in the search bar. Click on the app that appears in search.

- Use the keyboard shortcut Windows key + Shift + S to open the Snipping Tool. You can change the keyboard shortcut to initiate.
Once the Snipping Tool is open, you can start using it to capture, edit, and save screenshots on Windows 10 or Windows 11.
Use the Snipping Tool to take a screenshot
Once the Snipping Tool is open, you need to pick what mode, or area of the screen you want to capture. Here are your four options:
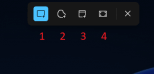
- Rectangular mode: Click and drag your mouse to select a rectangular selection of the screen. Release the mouse button when you are finished to take the screenshot.
- Free-form mode: Left-click and drag your mouse to draw a custom shape around the object you want to capture. Release the mouse button to take the screenshot and the Snipping Tool will automatically save it to your clipboard.
- Windows mode: Click on the window you want to capture on your screen. The Snipping Tool will automatically capture the window and save it to your clipboard.
- Full-screen mode: Click the icon to take a screenshot of the entire screen. The Snipping Tool will automatically capture the entire screen and save it to your clipboard.
Paste screenshots or add a delay
After you have captured the screenshot, the Snipping Tool will automatically save the selection to your clipboard and from there you can paste it into any document or image editing software you might use. If you want to paste the screenshot, just use Ctrl + V on your keyboard for the screenshot to paste.
 Additionally, you can add a delay to of up to 10 seconds before the Snipping Tool takes a screenshot. Click the Delay button (the clock icon) and choose the number of seconds you want the Snipping Tool to take a screenshot.
Edit screenshots with the Snipping Tool
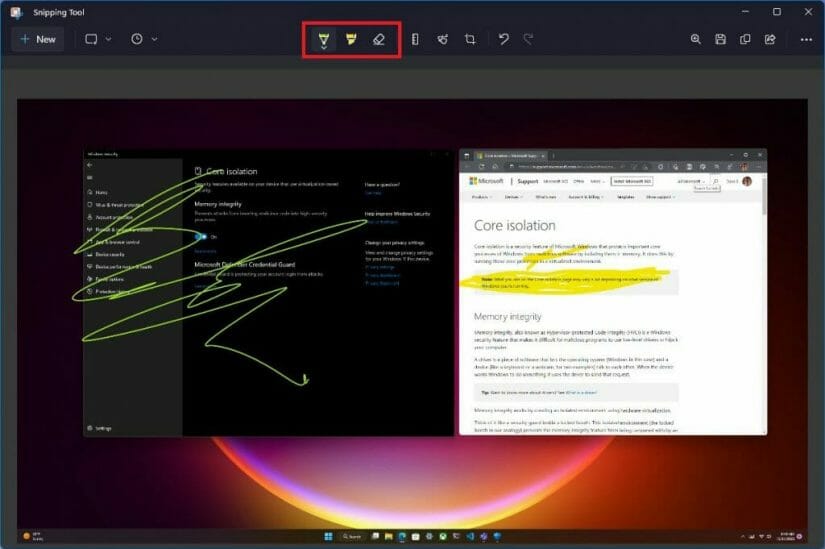 You can also edit screenshots you take using the Snipping Tool’s built-in editing tools. You can use the pen tool to draw on the screenshot, the highlighter tool to highlight important parts, or the eraser tool to remove any drawings or highlighted parts you don’t want.
Save screenshots as different file formats
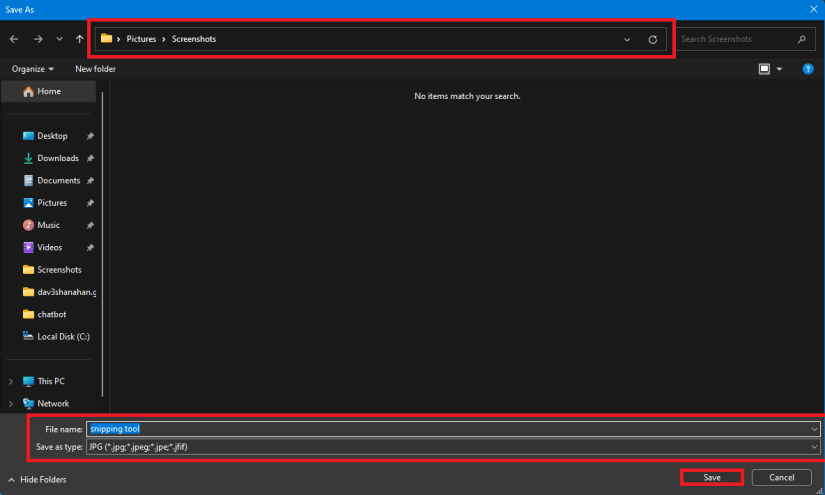
When you use the Snipping Tool to take a screenshot, you can save the screenshot in different file formats, including JPEG, PNG, and GIF. In order to save a screenshot in a different format, click on the Save As(Hard Disk icon) button in the top right of the Snipping Tool. 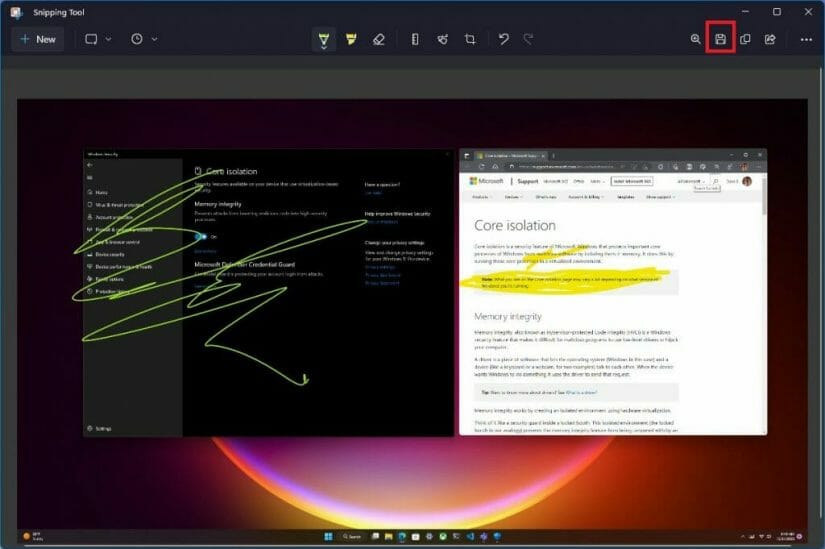 Once you choose the file location, file name, and file format you want, click Save again to save the file once you finish editing it.
The Snipping Tool is a simple yet powerful tool that can be used to capture screenshots instantly on Windows 10 or Windows 11. With just a few clicks, you can use the Snipping Tool to take a screenshot of anything on your screen, edit them using the app’s built-in editing tools, or paste and save them for later use.