
Blue Screen of Death (BSOD) makes an appearance on the computer while you are working on an important project. It not only hinders your workflow but also hogs time. They are not fun, especially when they are DPC Watchdog violations which can cause consistent crashes without giving you breathing space to understand the situation.
Watchdog violations are a common error on Windows 10 and can happen for a variety of reasons. The primary reason for this error is attributed to faulty storage problems but can stem from other reasons as well.
What is DPC Watchdog Violation?
A DPC (Deferred Procedure Call) Watchdog Violation is a BSOD that occurs on a Windows computer when something goes wrong with the way certain computer hardware or software is working. This can cause the computer to stop functioning correctly, and you might see a blue screen with an error message.
Think of it like a watchdog, who is supposed to keep an eye on things and make sure they are working properly. If the watchdog sees a program or application is taking too long or not working correctly, it will give an error message to let you know there is a problem.
The most common cause of the DPC Watchdog violation is the outdated drivers of SSD and GPU which result in performance issues. They can cause conflicts amongst components, leading to a BSOD.
Let us go with one solution at a time to rule out all the possibilities and find the real reason behind the DPC Watchdog error.
1. Remove All External Devices
Since it is reported that this error can occur primarily occurs when Windows 10 stops responding to a component, you should rule out the problem with the connected devices. Remove all the devices like external drives, flash drives, scanners, and even printers.
Restart the computer and go about your day to see if the DPC watchdog makes a reappearance as a BSOD.
If the error stops appearing after the removal, then one of the connections was the reason for the error. You can connect one external device at a time to find out the real culprit.
2. Check the Storage Components
Note – This is an advanced resolution method and you may require an expert’s help in checking the hard drives and other storage. If you are inexperienced in dealing with hardware components, then you should skip this step.
If you have installed a new storage component like a hard drive or an SSD. Or, when you have been using the same storage for a long period, then they might be at fault.
Turn off the power from the power supply and check the wires and slots for faults or dust. Put them back in after carefully cleaning them with a dry cloth without static discharge.
3. Check for Viruses
Certain dangerous viruses can cause instability in the operating system. If you have a third-party anti-virus on the computer, then it is time to do a full and comprehensive scan which can take hours.
On the other hand, Windows 10 has an inbuilt security suite known as Windows Security. You can use it to perform a full computer scan in the following way.
1. Search Windows Security and head to the first result.
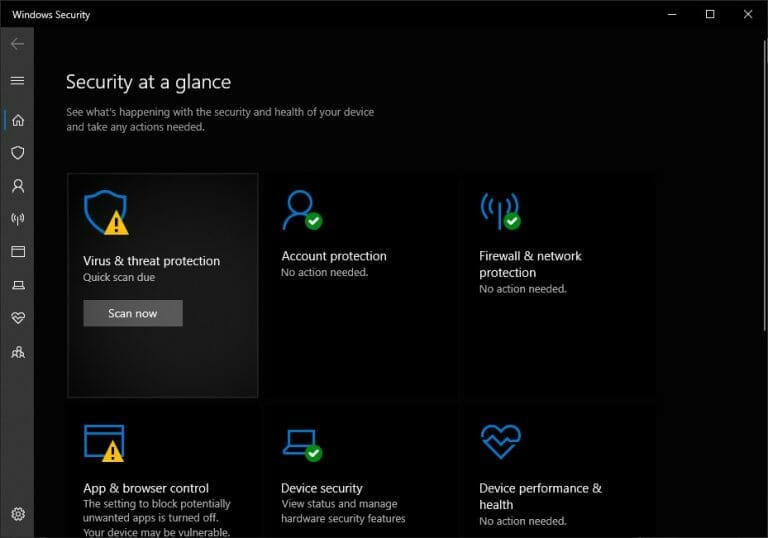
2. Click Scan now button under Virus & threat protection.
3. Select Scan Options from the list of options.

4. Now select Full Scan from the list of scan options and then click Scan Now to begin the scanning process.
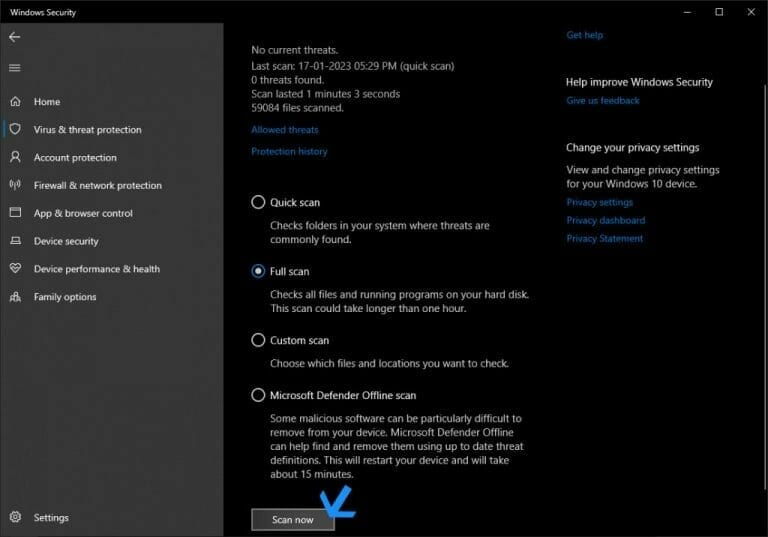
5. The scan process will take several minutes to hours depending on the size of your storage.
If threats are detected then take the suggested action. Then restart the PC and resume working on the computer it while observing for problems.
4. Update IDE ATA/ATAPI Controller Drivers
Note – If you have NVMe-based SSDs installed and there is no option for expansion through SATA storage, then chances are that IDE ATA(Advanced Technology Attachment)/ATAPI(Advanced Technology Attachment Packet Interface) may not be present on your computer so you can skip this solution.
Many modern PCs come with an in-built SATA controller and do not require IDE ATA/ATAPI controller.
IDE ATA or ATAPI Controller is a type of technology that allows your computer to connect and communicate with storage devices such as hard drives and CD/DVD drives. Think of it as the bridge between your computer and these storage devices.
When you save a file or install a program, your computer sends data to the storage device. The IDE ATA/ATAPI Controller helps make sure that this data is sent and received correctly.
The problem happens when the controller is not working properly and can lead to a DPC_WATCHDOG_VIOLATION BSOD. Many users have reported that iastor.sys, a driver for computers with Intel RST (Rapid Storage Technology) app is causing the issue due to incompatibilities.
Other users have sotrahci.sys, which is developed by Microsoft for use on the computer when no other controller is installed. Here is how you can update the driver for either of them to fix the Watchdog error.
1. Press the Window key + X together on your keyboard to open the quick link menu in the Start Menu icon and then select Device Manager from the list.

2. Find IDE ATA/ATAPI controller from the list.
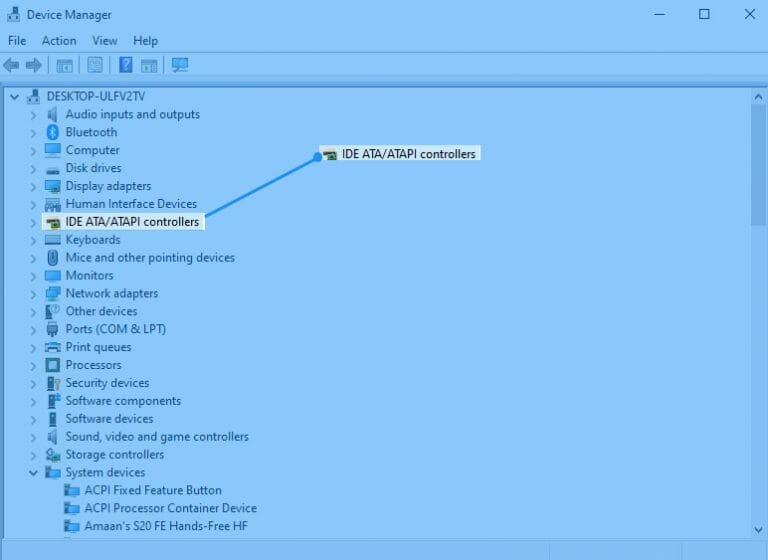
3. Double-click to open IDE ATA/ATAPI controller and you will find either Standard SATA AHCI Controller or the one by Intel in the list of options.
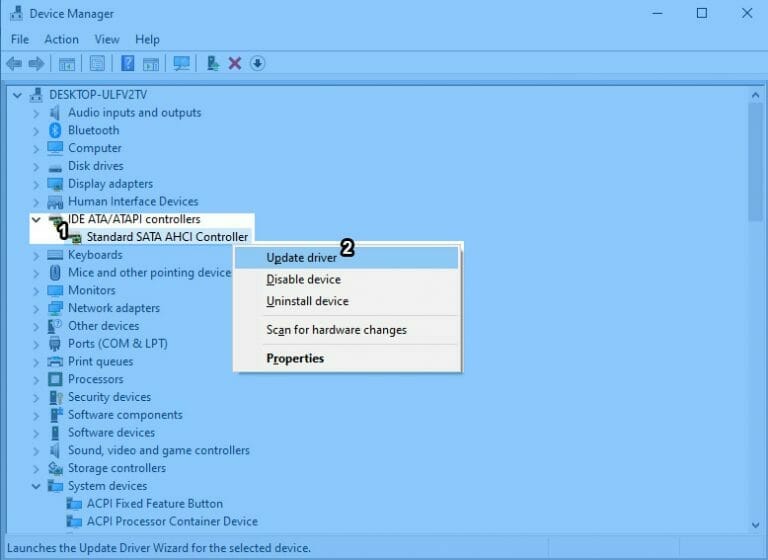
If you can’t find the one from Intel, then right-click on Standard SATA AHCI Controller and select Update Driver.
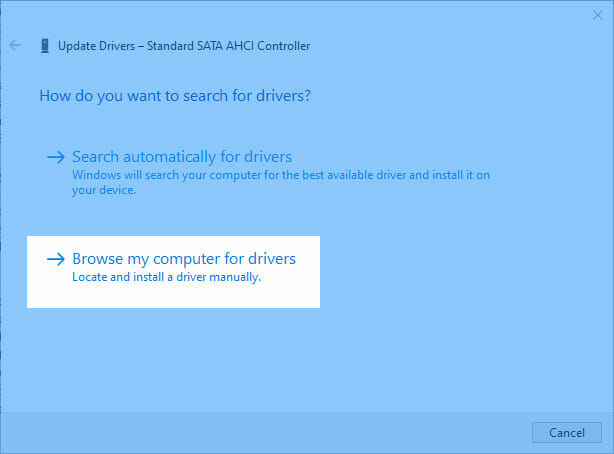
4. Select the second option Browser my computer for drivers and you will move to the next step.
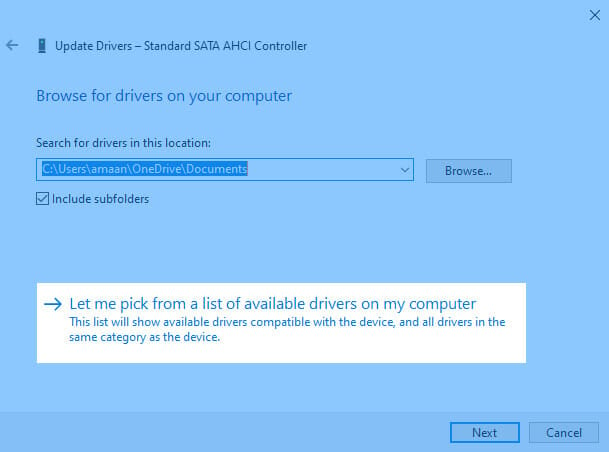
5. Select Let me pick from a list of drivers on my computer to proceed.
6. Up next, select Standard SATA AHCI Controller and then click next to move forward.
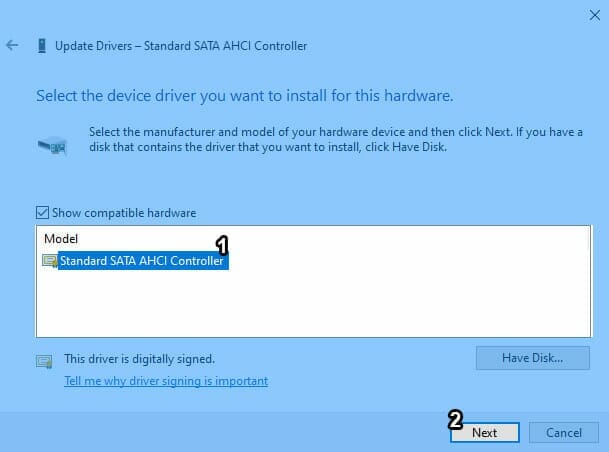
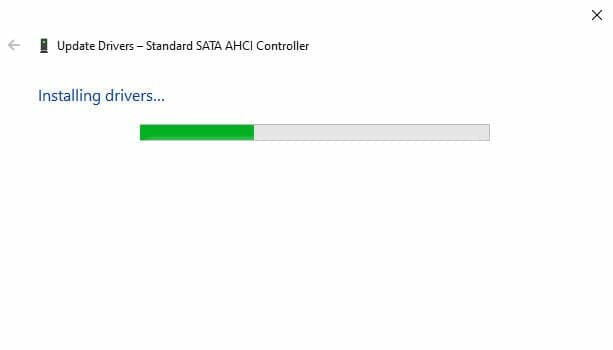
7. Now, the drivers will be installed in a couple of seconds to minutes.
8. You will get confirmation about the driver update on the screen.
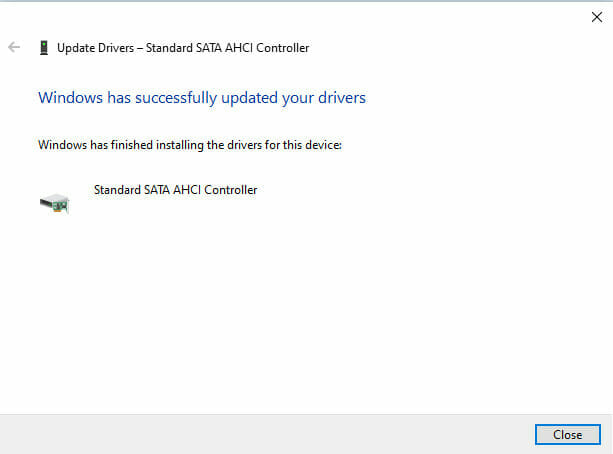
9. Reboot your computer to make sure that the new driver is loaded and working as intended.
5. Update SSD’s Firmware (if present)
Solid State Drive (SSD) is a revolutionary step forward in storage that has drastically improved computer performance and speed in general. You will find them on most performance-focused computers.
But did you ever think of updating its firmware? Perhaps the manufacturer released a newer driver for the SSD which can fix the incompatibilities that have sprouted after the recent Windows update.
Let us go back to the device manager and update the firmware of the SSD in the following manner.
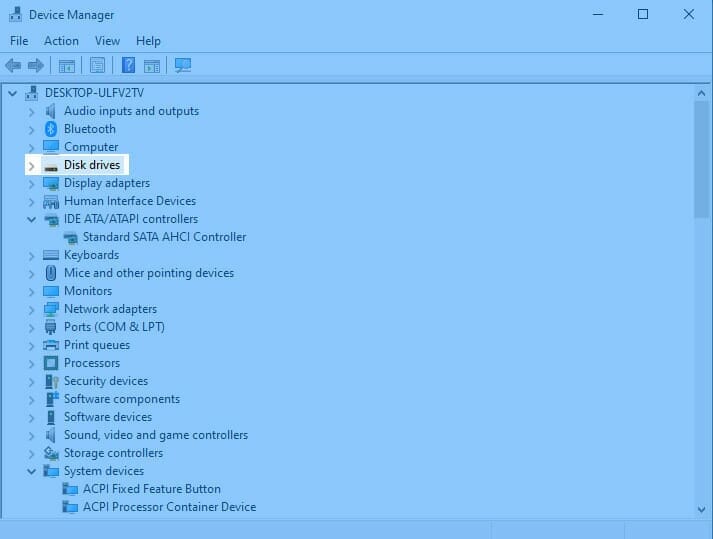
1. Press the Windows key + X on your PC and head to the Device Manager.
2. Find Disk Drives from the list of components and double-click to expand the items under it.
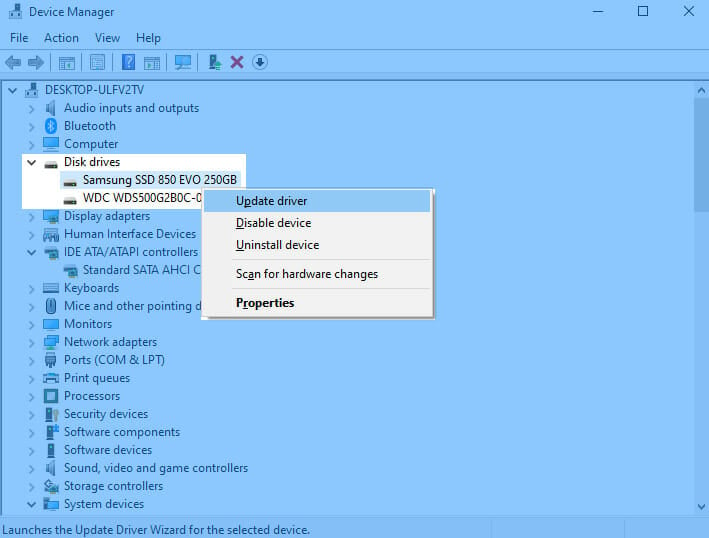
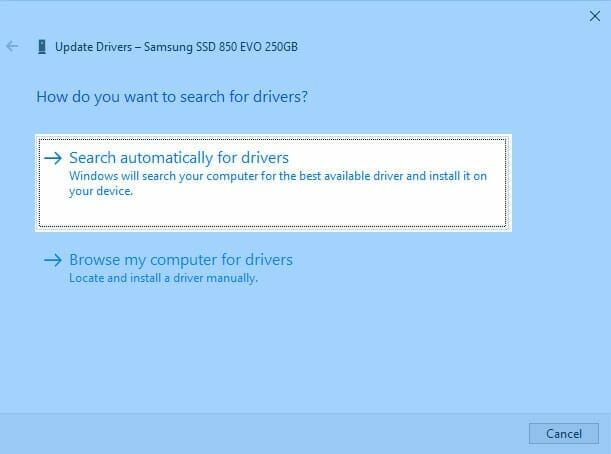
3. Right-click on the SSD and select Update Driver.
4. Select Search automatically for drivers to let Windows look on the internet for the latest drivers.
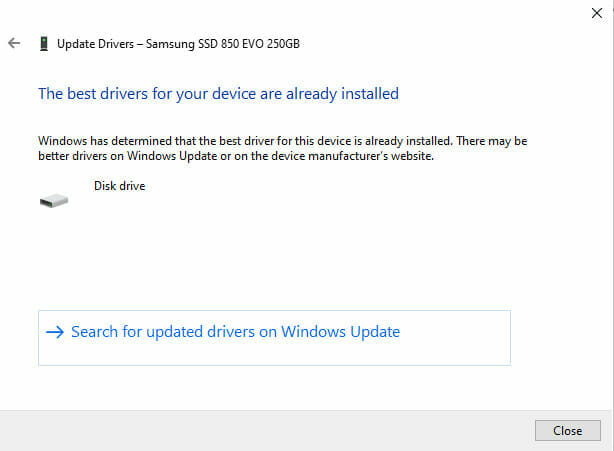
5. The latest drivers will be installed if available else you will receive a prompt informing you that the latest drivers for the SSD are already installed.
6. Scan System Files
Your Windows system files can be corrupted or damaged due to reasons like power failure, abrupt shutdown, etc. They can act up and cause DPC Watchdog issues. You can repair system corruptions using the SFC utility, which is a built-in utility in Windows that scans and repairs system files. Here is how you can fix it using a command of the utility.
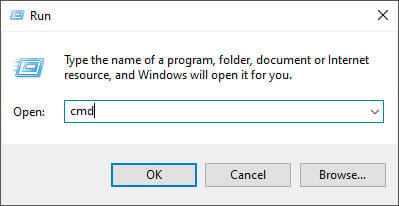
1. Open the run prompt by pressing Alt + R on the keyboard.
2. Type cmd and press Ctrl + Shift + Enter to open the elevated command prompt with administrator rights.
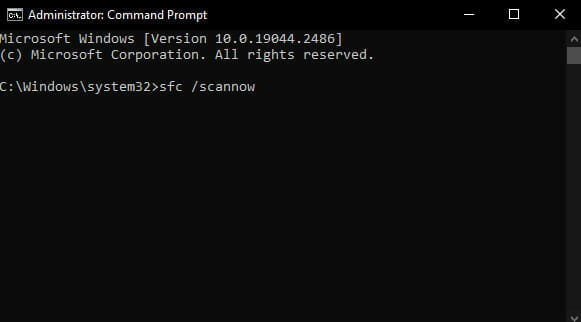
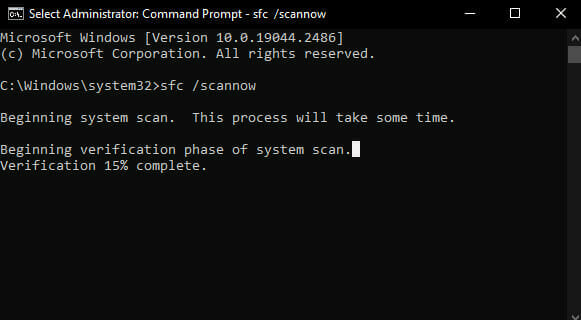
3. Type the following command and press enter.
| sfc /scannow |
Note – The character case does not have an effect on the command execution. It can be small, capital, or a combination of both.
4. The SFC utility will perform the scan and it can take up to 10 minutes on slower hard drives.
Note – You can double-click on the command prompt window to pause the process. Press enter to resume the operation.
5. You will get the message Windows Resource Protection found corrupt files and successfully repaired them when corrupted or damaged files are found.
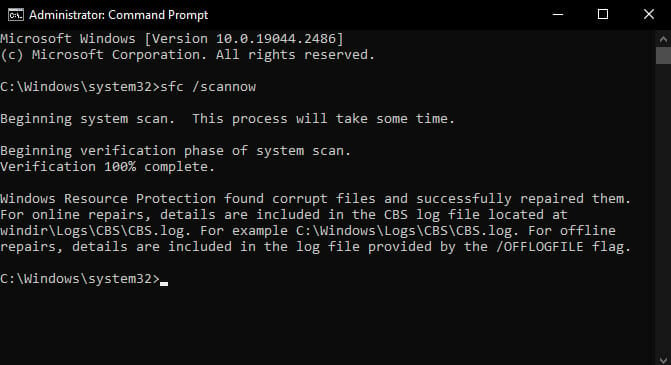
6. Close the command prompt and then restart the computer to complete the SFC utility process.
7. Restart Power Supply (for desktops with wireless adapters)
Many users shut down their PC but leave the power on from the UPS. Some do it to illuminate their room with the computer’s RGB, while others don’t give a second thought about turning off the power.
The wireless adapters for WiFi and/or Bluetooth can get corrupted and stop functioning properly. This can behind be a reason for the DPC Watchdog BSOD.
A simple flick of the power supply switch can resolve the issue. Turn off the switch for a minute and then switch it back on to see if it has fixed the error.

8. Update Windows
Windows is infamous for breaking things on the computer and often causes inconvenience to the user, who has to scrape the internet to fix the issue. This DPC Watchdog violation can be a result of a broken update.
Microsoft is also quick to push a remedial update that fixes most things. Therefore you should look to update Windows in the following manner.
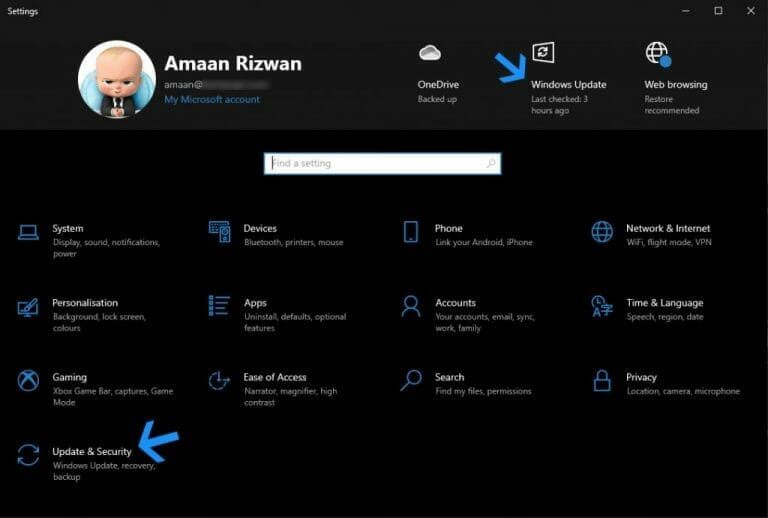
1. Press the Windows key + I on the keyboard to open the settings menu.
2. Click on the Windows Update at the top or Update & Security option to access the updates dashboard.
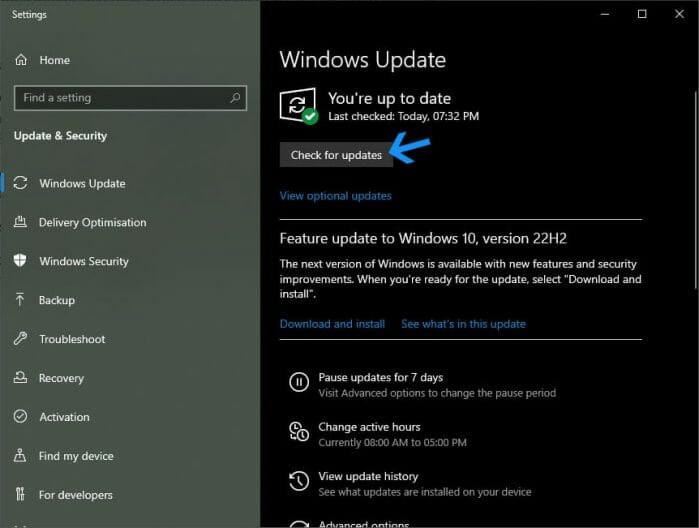
3. Click the Check for Updates button and Windows will check for the latest available updates.
You can see the available update that can be installed through the Download and install.
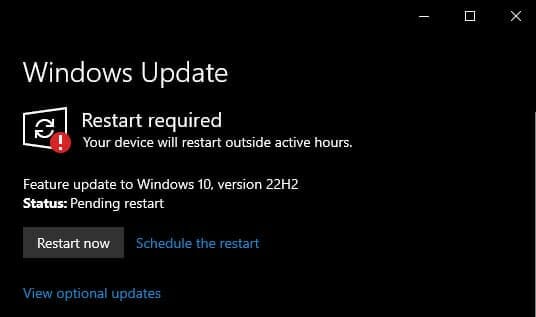
4. You will see a Restart Now button once the update is downloaded. Restart the computer and the update will be installed in a couple of minutes.
9. System Restore
It becomes increasingly difficult to work as DPC Watchdog violations error take over the computer. You don’t feel confident using it for important work as it can be lost in a moment’s time. If you want a time machine to go back in time to when the computer was working without any problem, then System Restore is your answer.
System Restore is a feature in Windows that allows you to go back to a previous version of your computer’s settings, programs, and system files. Think of it like a “undo” button for your computer.
Before making any significant changes to your system, Windows automatically creates a restore point. If you encounter a problem with your system, you can use System Restore to go back to a previous restore point in the following manner.
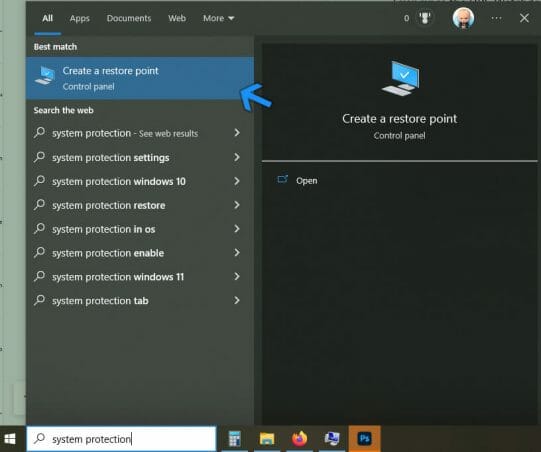
1. Search System Protection in the Start menu and select Create a restore point from the results.
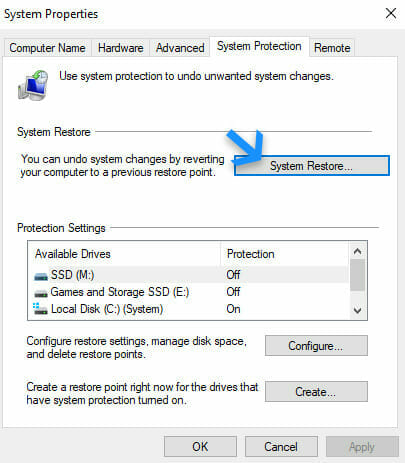
2. Go to System Restore under the System Protection tab.
3. Select Next with the recommended restore point by Windows. If you want to explore a different restore point then select Choose a different restore point.
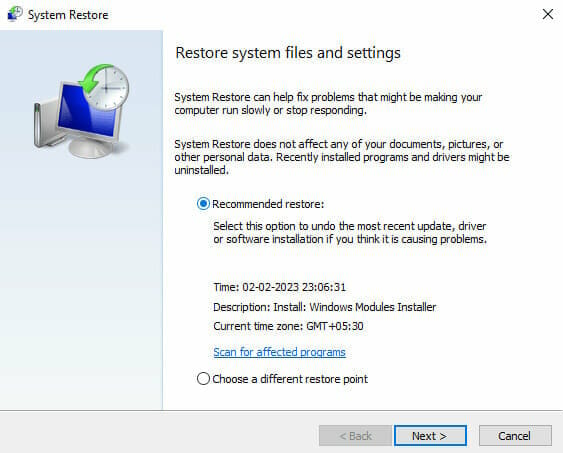
4. Again click Next to get started with the system restore process.
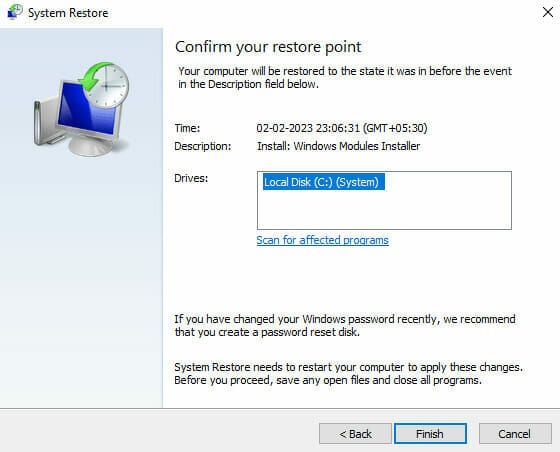
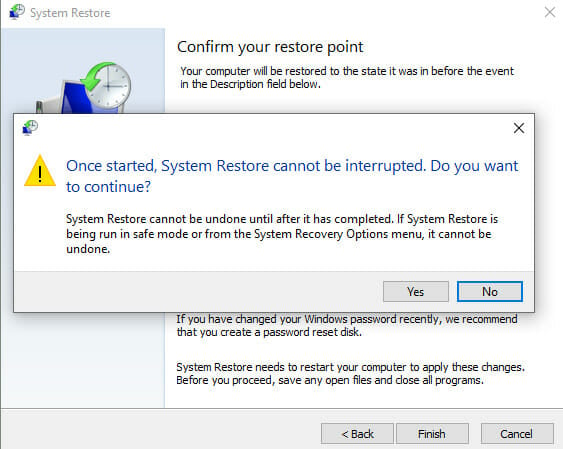
5. Provide confirmation by selecting Yes and then Windows will start restoring to the selected restore point.
10. Reinstall Windows
You have tried everything up till this point and now it is time to restart with a clean slate. Reinstall Windows on the system partition and you will have a fresh start on the computer with zero third-party applications installed.
Install necessary drives and applications to take it slow while observing for any bumps along the way. Make sure to backup data of the system partition (Generally C drive) before moving forward with Windows installation.